Star Trails
Star trail is a type of photograph that uses long exposure to capture diurnal circles, the apparent motion of stars in the night sky due to Earth’s rotation.
They are beautiful and easy to take, excellent for beginners and pros alike, but require a lot of time and patience. Since the stars have an apparent motion in the night sky, star trails can be virtually taken from anywhere on Earth, as long as the sky is clear and the light pollution is low.
Here are a few things to keep in mind when taking star trails:
- Plan the shot beforehand. Although you can take just the photograph of the night sky, often the star trails look better when there is a foreground object in the frame. This can be a tree, a building, a mountain, or anything else that you can think of.
- Avoid shooting when the moon is out. The moon is very bright and can wash out the stars (a terrible experience for astrophotographers). The best time to shoot is when the moon is not out, or when it is in the new moon phase.
- Use a tripod. Since the exposure time is long, you need to make sure that the camera is stable. A tripod is a must for this type of photography.
- An intervalometer (a device used to trigger the camera shutter at set intervals) is a must. You can use a remote shutter release, but it is not as convenient as an intervalometer. For mobile cameras, there are apps that can be used to trigger the shutter at set intervals.
- Use a wide-angle lens. Since the stars are very far away, you need to use a wide-angle lens to capture them. If you’re using a DSLR, a 14 - 24mm lens is ideal for this type of photography.
- If possible, capture the RAW image as well. This will give you more flexibility when editing the image. This will require you to have a lot of storage space, so make sure you have enough space on your memory card.
- Capture for as long as possible. If you can, aim to shoot from sunrise to sunset. This will give you the best results. If you can’t, try to shoot for at least 2 hours. This will give you a decent star trail photograph.
Make sure wherever you place your camera, it remains stable for the duration of the shoot. Even a slight perturbation from the original position can ruin the entire shot.
Once you’ve got everything setup, take a few demo shots to figure out the right settings like ISO, aperture, and shutter speed. Post this, you’ll be ready to have your patience tested. Start the intervalometer and wait for the magic to happen.
If you capture star trails during the peak of a meteor shower like the Orionids or Perseids, there is a very high chance, you might see multiple streaks of straight lines dividing your image. These will most probably be the streak of a meteor showering from the sky!
In the worst case scenario, you might have caught a satellite zipping past your sky.
Sometimes, you might capture random bright dots in your image, If your sensor is decent enough, there’s a high chance that those seemingly random dots are not due to sensor issues, but rather, geostationary satellites!
Post stacking all the images you’ve captured, you’ll have a beautiful star trail photograph. A few examples of them, captured by the club members, are shown below:
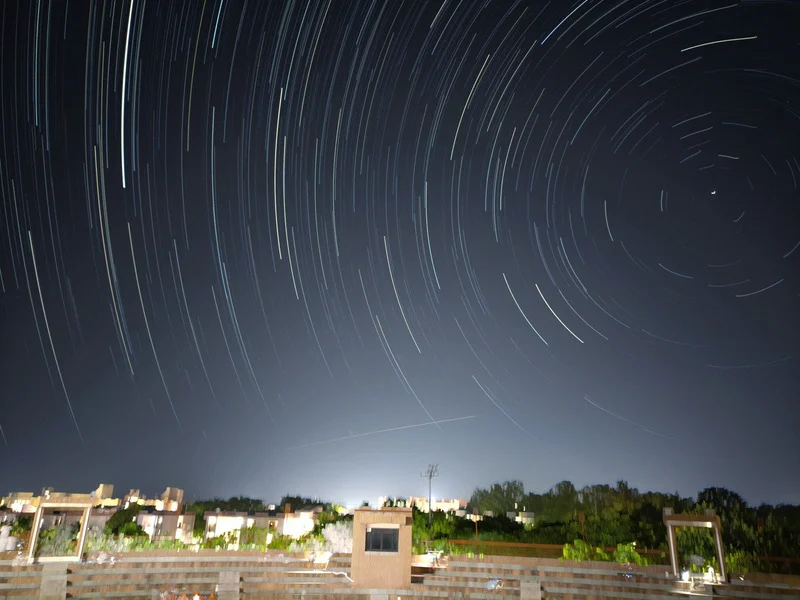 Captured from the clubroom, of the Open Air Theatre, by Saad
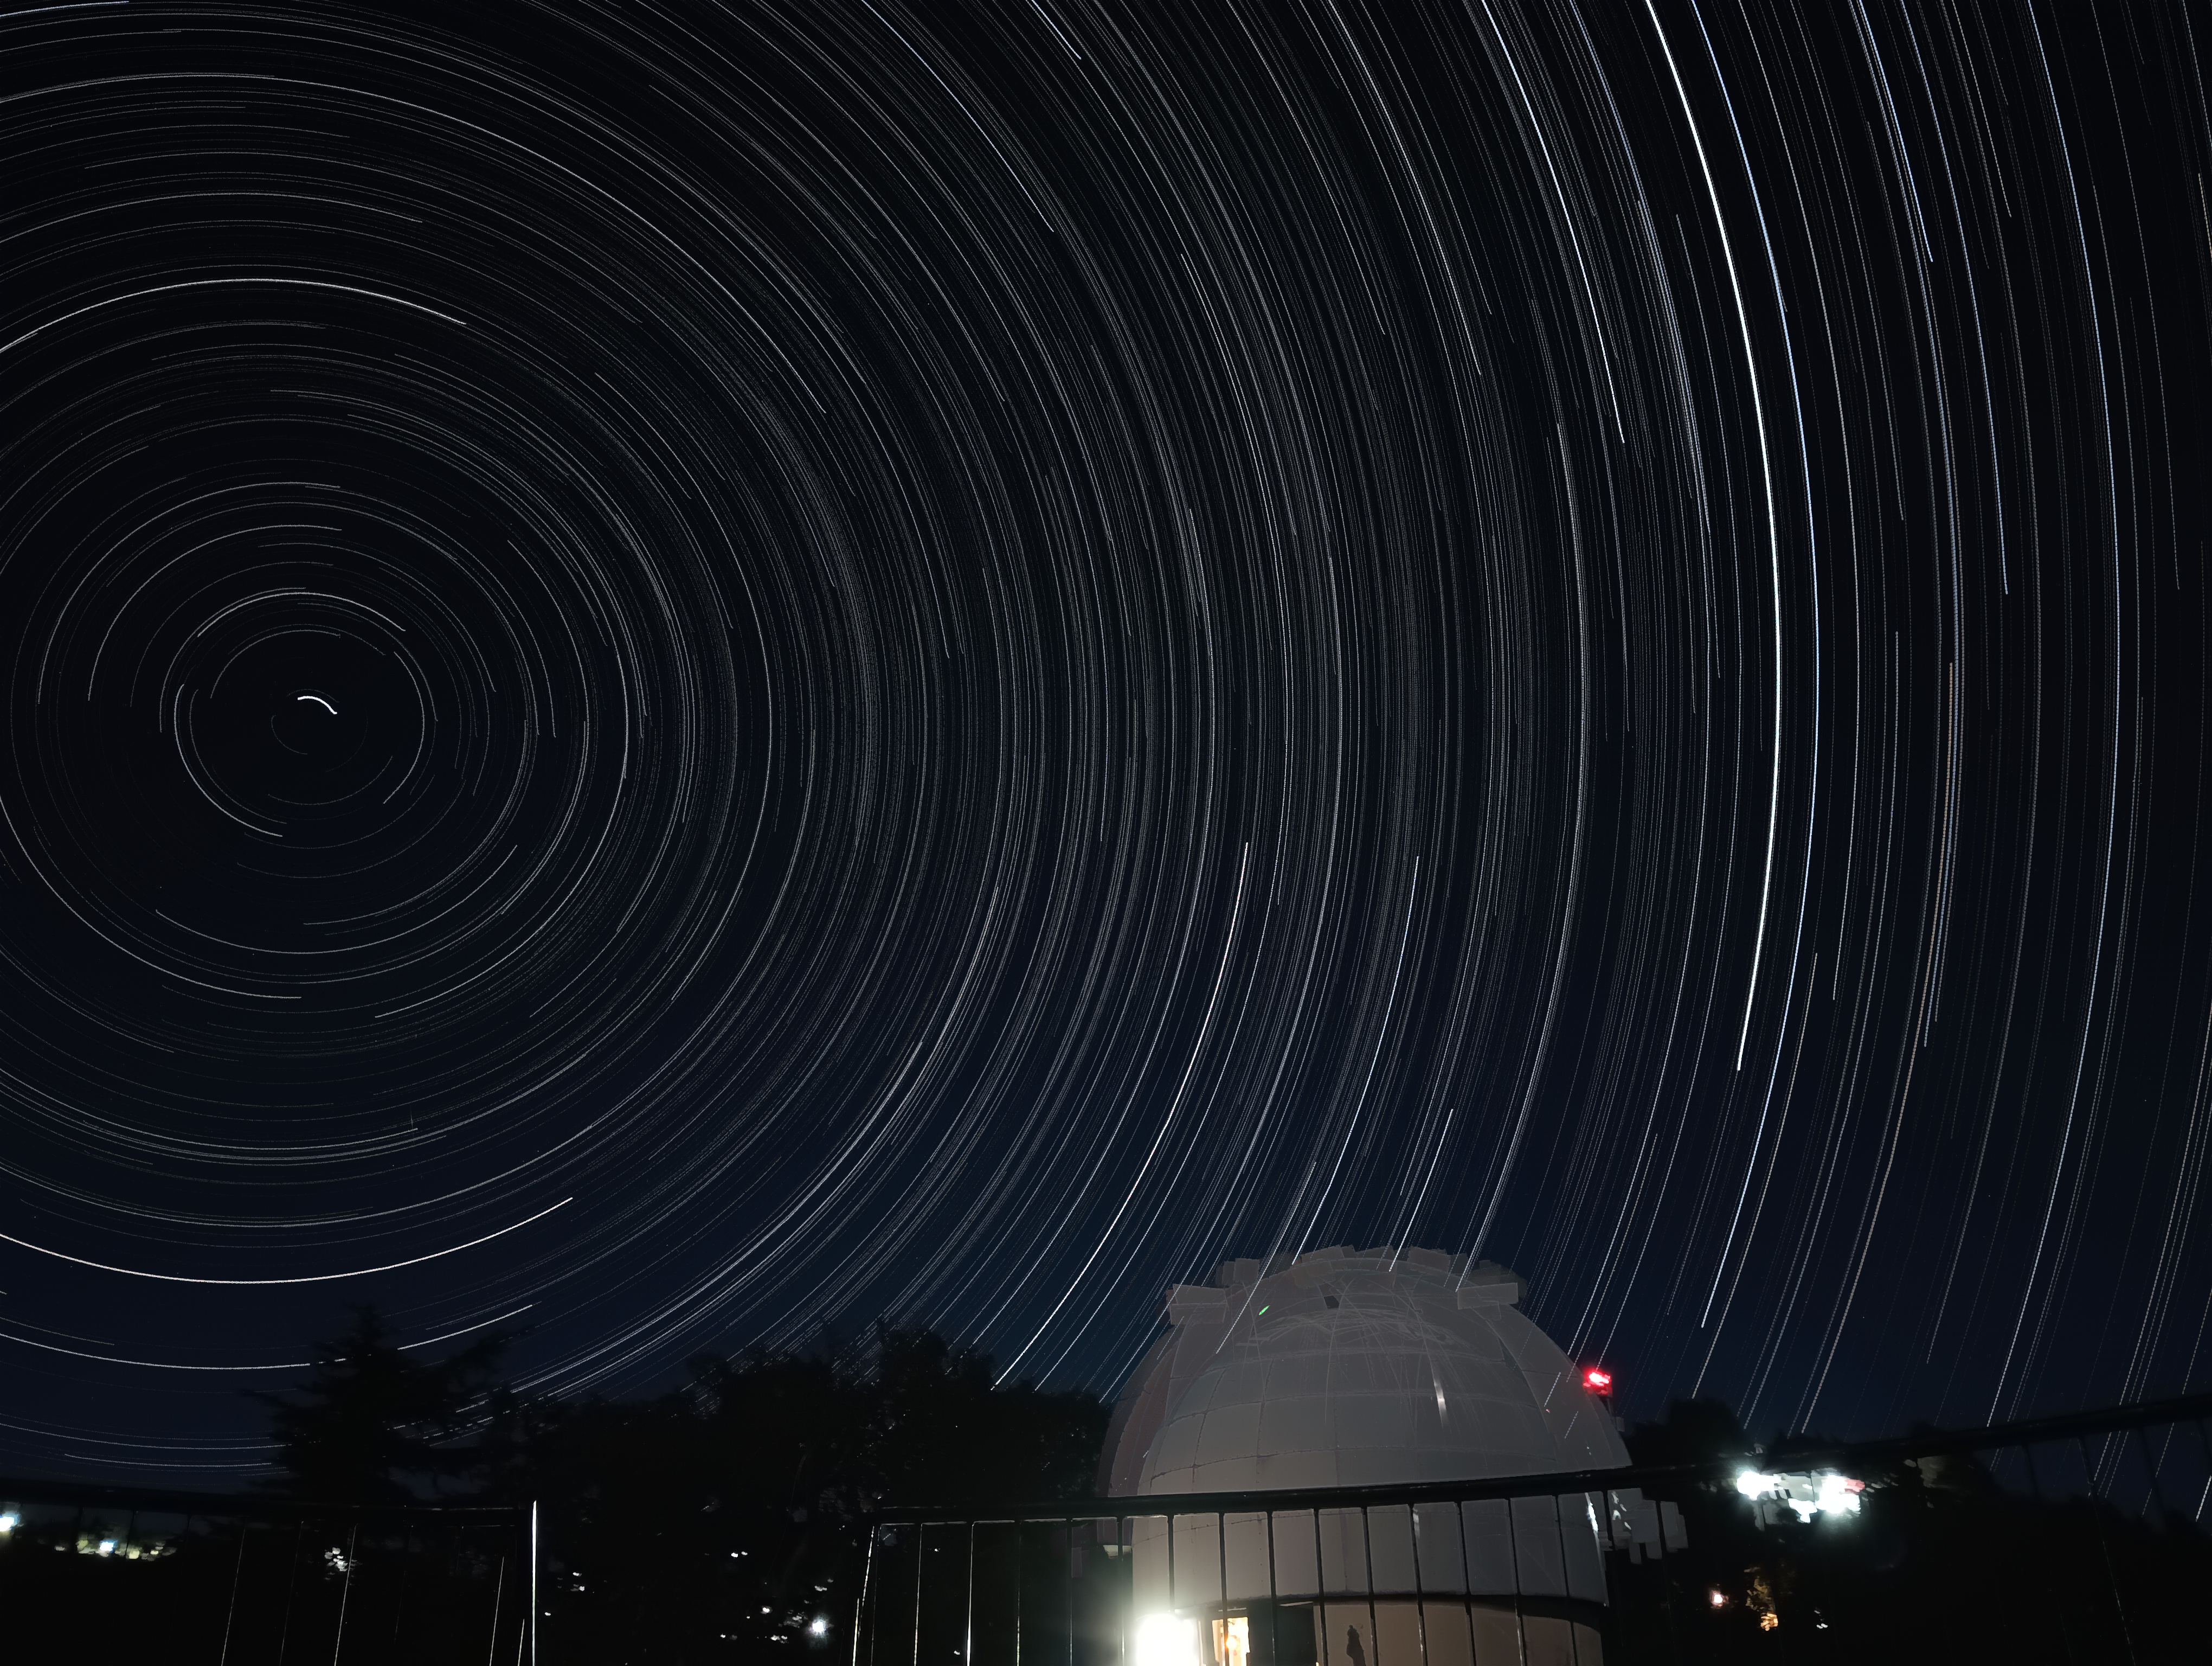 Captured at ARIES Observatory, Nainital, by Adit